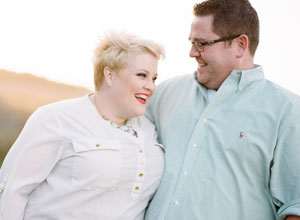
Hi there! We're Luke and Cat, and we're so happy you're here. We hope you'll stay a while! We’re a husband and wife wedding photographer team based in Houston, Texas. Ranchers-turned-photographers, our world looks like this: a Craftsman-style farmhouse; our newborn, Knox, in our arms; coffee in the kitchen; Edison lights on the back porch; and a pair of English bulldogs at the foot of our bed. Read more...
 
Go

Viewing One Post | View all recent posts

Makeup Monday #19 :: Eyeshadow Brushes

Aug 12, 2013 / Makeup Mondays
As you might have noticed, Makeup Monday's have been missing a few times. I'm currently buying plenty of makeup so I'll be able to do these more frequently! :) But we do have a Makeup Monday this week!

Eyeshadow application is very important to the entire look of your makeup. If you don't believe me, notice how many pins on Pinterest are eyeshadow application related.

For me, putting on my eyeshadow is easy because I have the right tools. I don't know why they include those little white sponge sticks with eyeshadow, because they are pretty much worthless! I believe you need 3 brushes for your eyeshadow.


1) A medium sized brush for your lightest shadow (but not your highlighter) that is going to go all over your lid from lashline to browbone. For this, I would suggest heading to the nearest drugstore and picking up a brush that they title, appropriately, "eyeshadow brush." This brush doesn't do any detail work so there's no need to splurge! Here's a good one for $4.

2) A crease brush. This brush will be smaller than the previous brush and it will be used to put a darker shade in your crease. If you're like me, you'll want to use the same brush to dab an even darker shade on the outer corner of your eye. This is where you need to spend some money because the key to having your eyeshadow look great happens in this step, and you can't get it right without a good tool: blending, blending, blending! This is the brush I use for this job!

3) A small brush for highlighting under your browbone and inner corners. You probably don't have to have a new brush for this, but I have found that since the color difference is so dramatic between the highlight and other colors that you will want a special brush reserved for it. This is the brush I use, and I like it because it is a stiffer brush and therefore, more precise.
Comments
View Comments
Sharing is the Best!
We love your comments! We thoroughly enjoy reading what people have to say. So join our community and chime in by adding your comment below.